Managing Organizations
You manage an Organization from its account settings, where its owner and administrators handle its profile, people and billing. To open them, go to your account settings and choose the Organization in the account switcher at the top of the page. In the Project Dashboard, Organization details in an Organization's ⋮ menu opens them too.
An Organization's settings have three tabs: Profile, People and Billing.
Profile
The Profile tab works like the one for your own account settings:
- Account - The Organization's picture, its username (the ID in its profile's address,
playcanvas.com/user/<ID>), its name, and the email address its notifications go to. - Socials - Links to the Organization's website and social accounts, shown on its profile.
- Email notifications - My projects, New comments, New stars, PlayCanvas news, and Permission changes, which emails you when someone is added to or removed from the Organization.
- Delete organization - See Deleting an Organization.
People
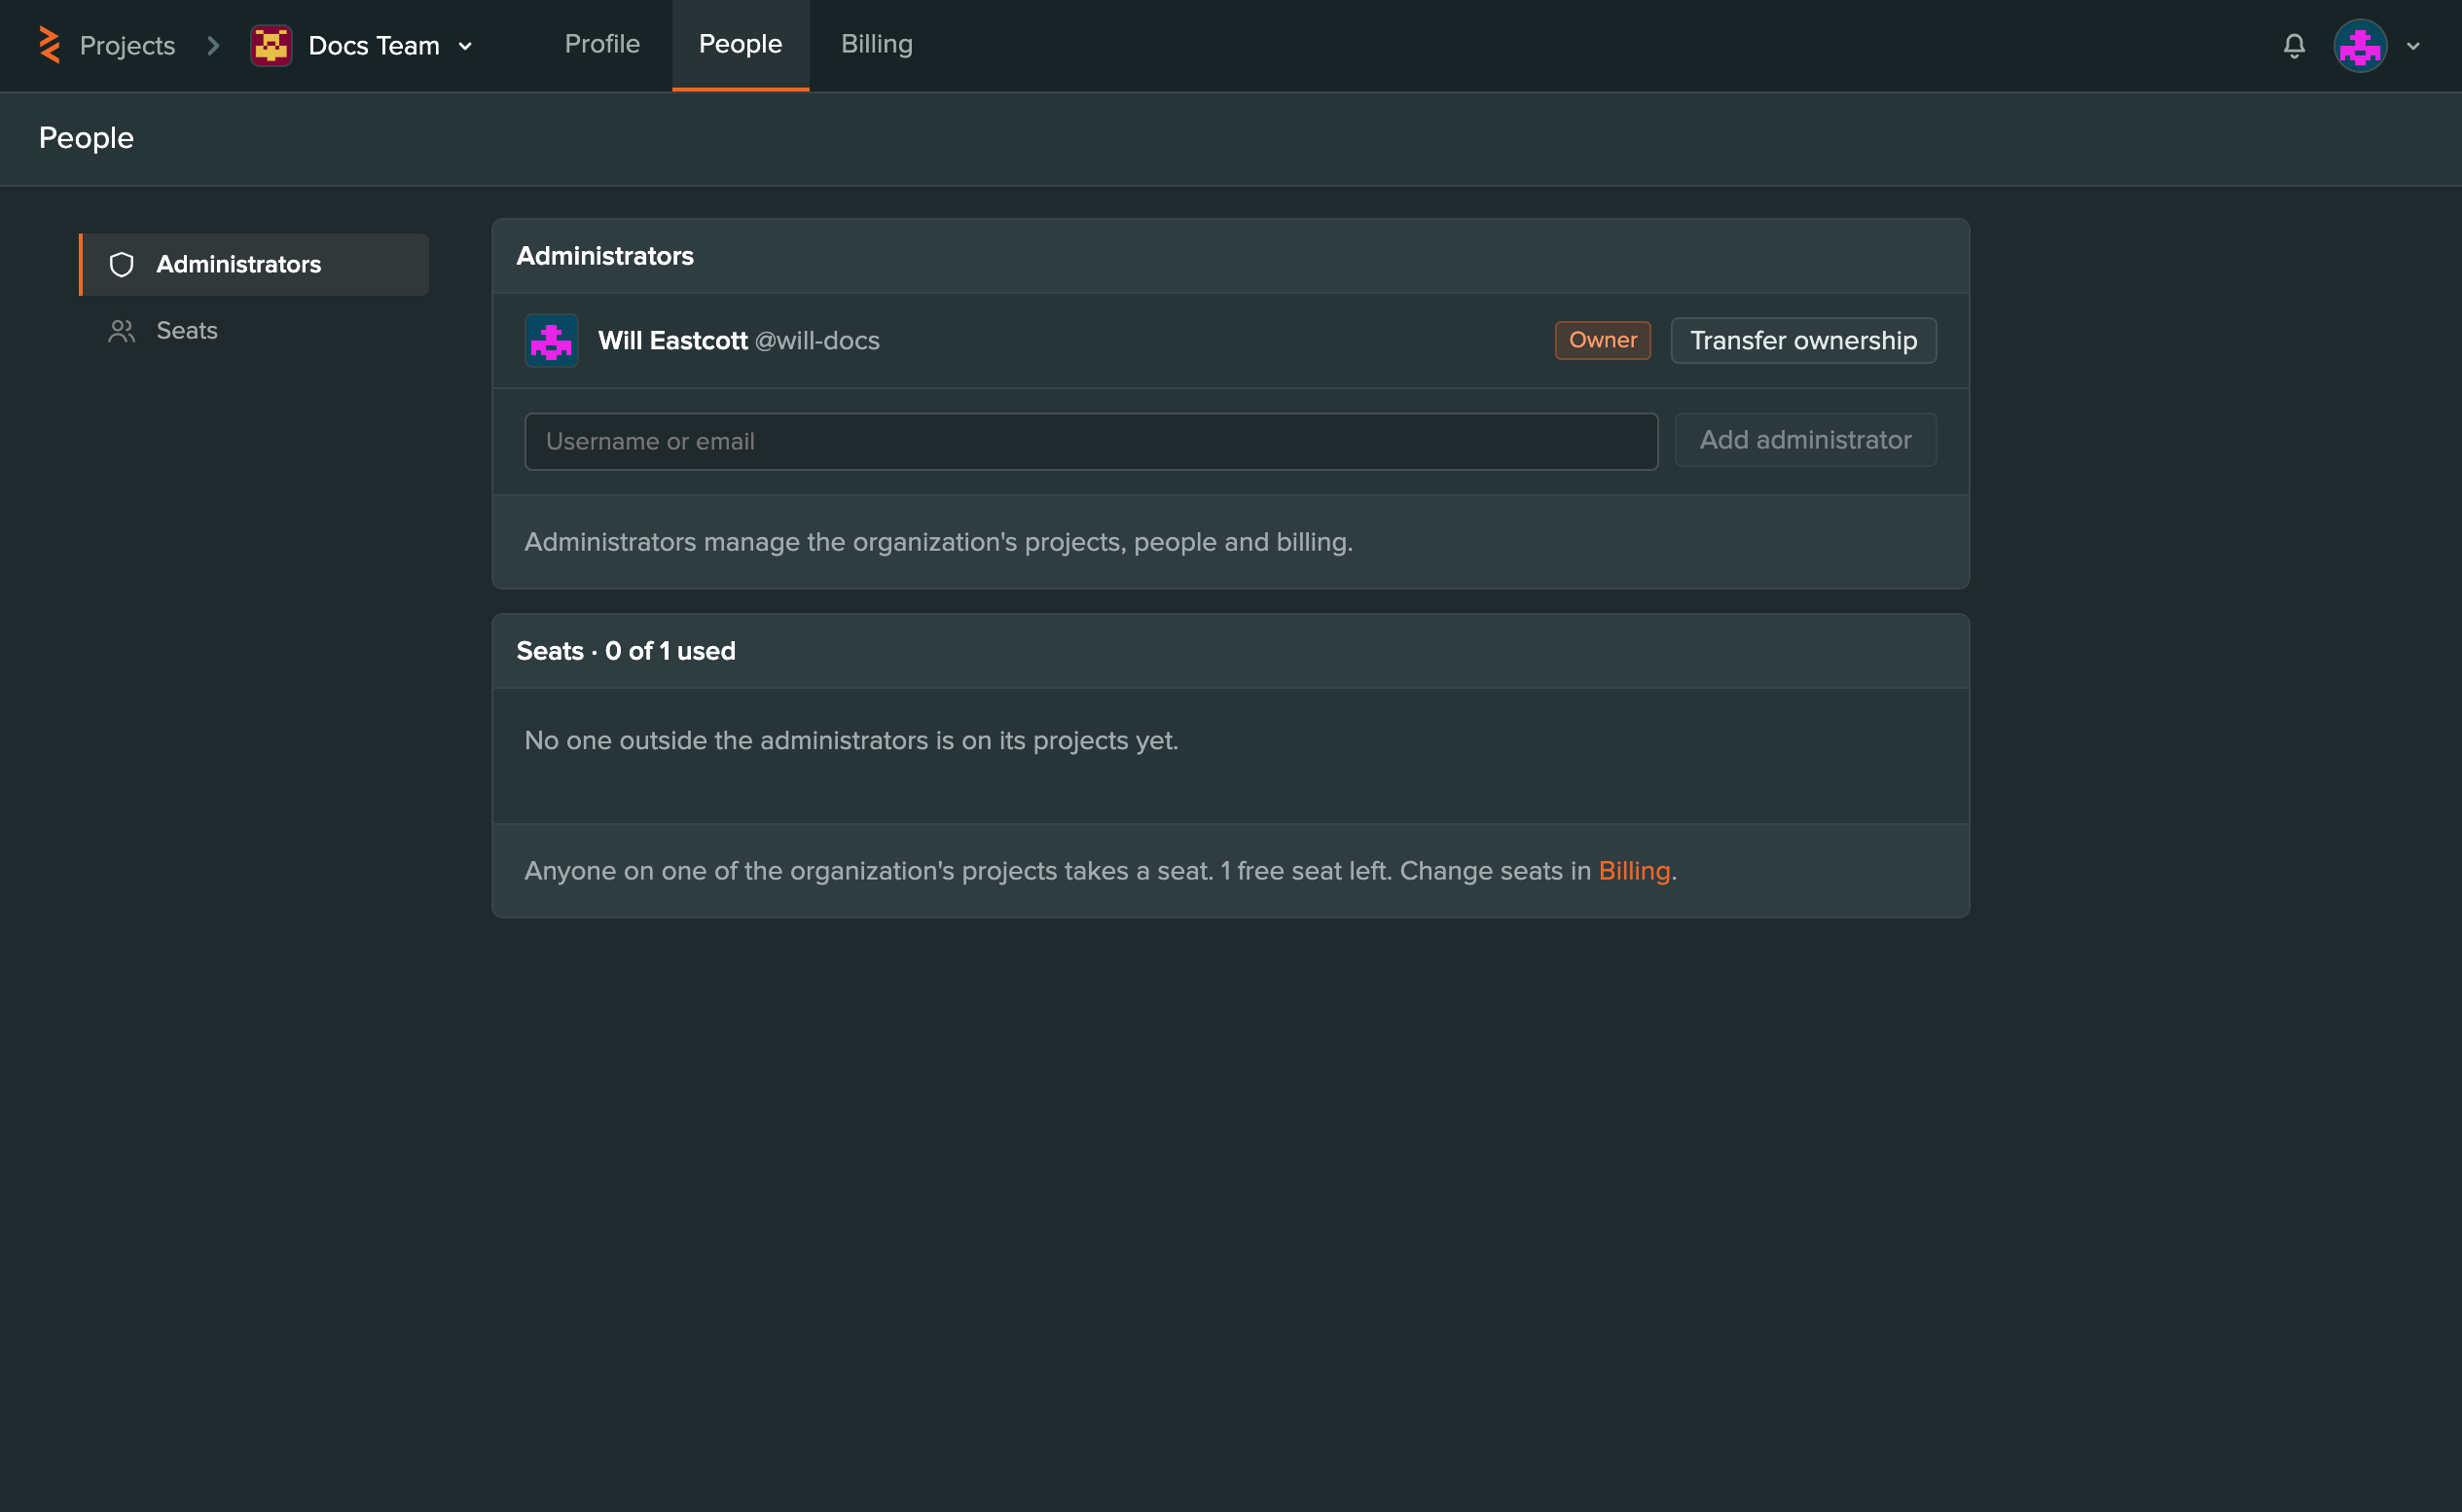
Administrators
Administrators lists the Organization's Owner and its administrators. Administrators manage the Organization's projects, people and billing.
- To add an administrator, enter their username or email address and select Add administrator.
- To remove one, select Remove next to their name.
- To hand the Organization to someone else, the owner selects Transfer ownership, finds the new owner by username and selects Transfer. The new owner takes over the Organization and its billing, and the previous owner stays an administrator.
Administrators can do everything the owner can — including creating and deleting projects — except transfer ownership or delete the Organization itself. Only the owner can do that.
Seats
A seat is consumed when you add a user to one of the Organization's private projects. Public projects don't require seats, so you can have unlimited public collaborators at no cost.
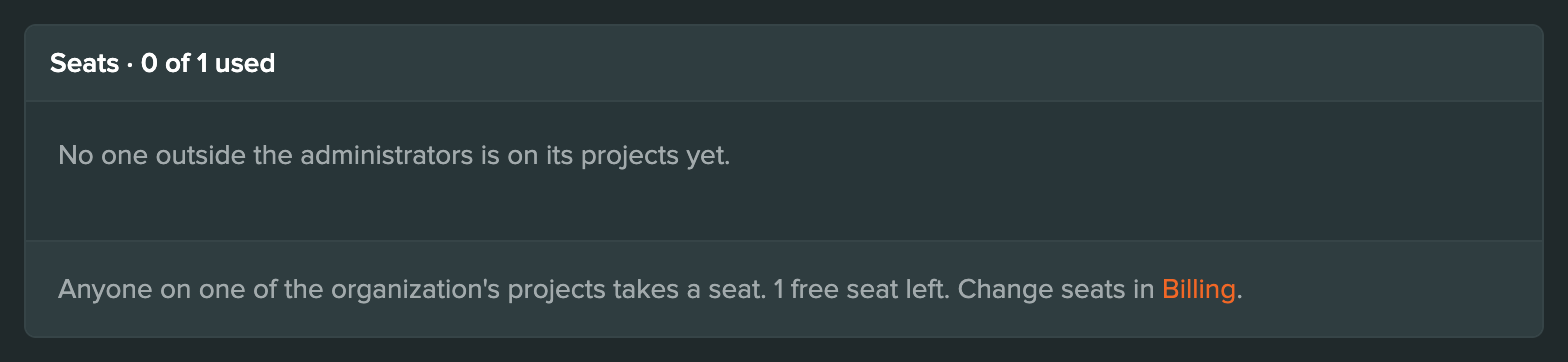
Seats shows how many of the Organization's seats are used, and lists the people on its projects other than its administrators, with the projects each one is on. Select Remove next to someone to remove them from all of the Organization's projects and free up their seat.
The owner doesn't need to occupy a seat if they aren't actively working on projects. We recommend giving a seat to at least one administrator, so that someone can always create and manage projects.
Billing
An Organization has its own Billing tab, with its plan, storage, payment details and invoices. See Plans and Billing.
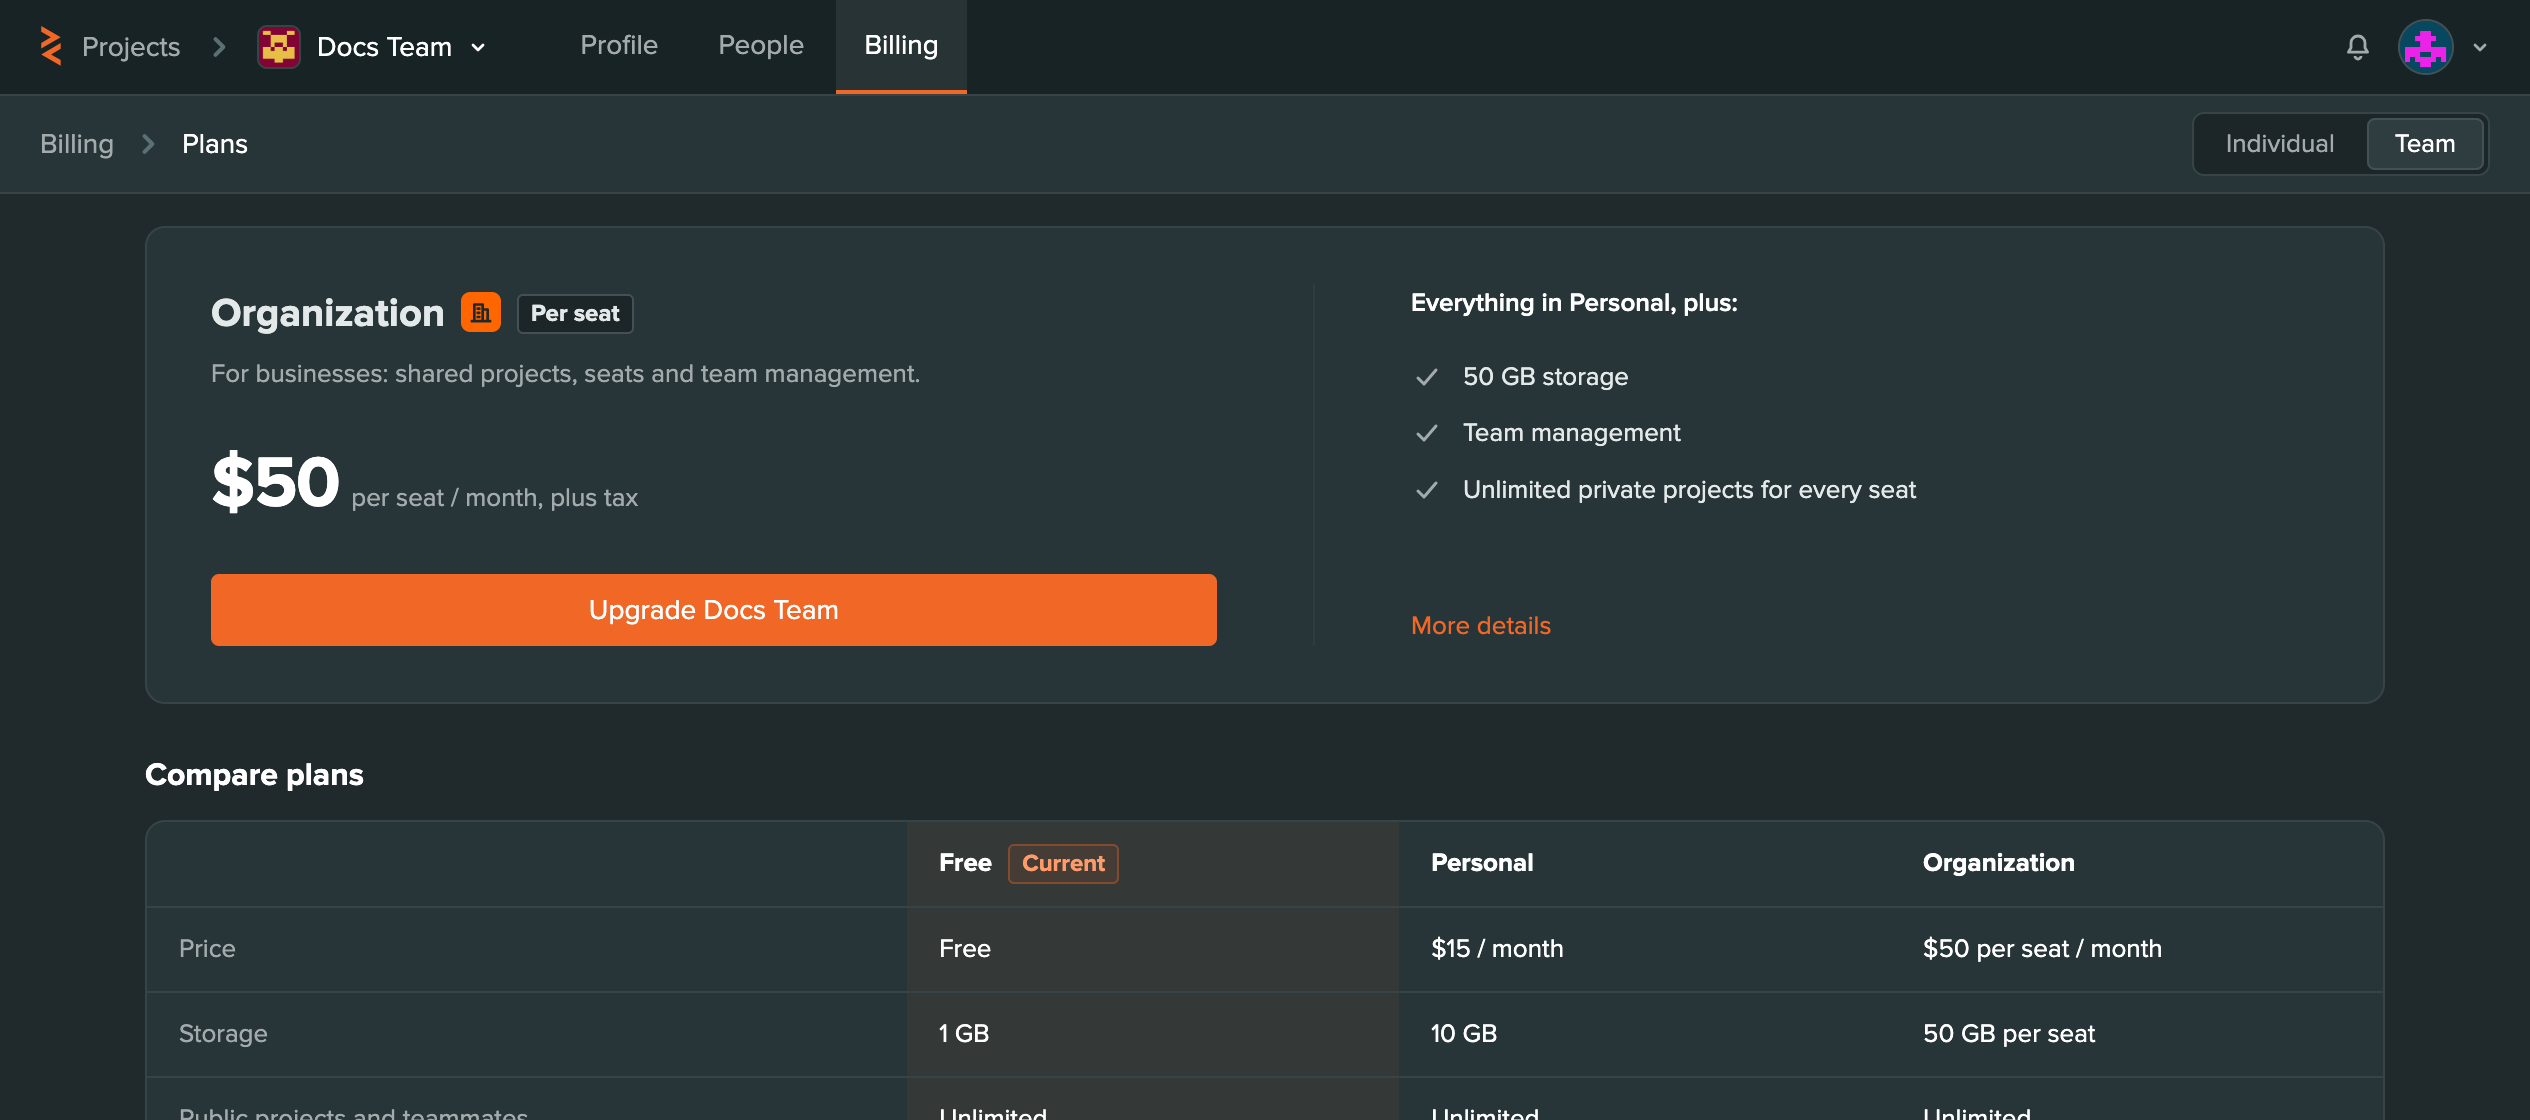
A new Organization starts on the Free plan. To give it private projects and seats, select Change plan on its Billing tab, then Upgrade followed by the Organization's name, and choose the number of seats at checkout.
Adding and Removing Seats
On the Organization plan, the Plan section of the Billing tab shows how many seats are in use. To add or remove seats at any time, select Change seats, choose the new number of seats and select Save seats. Seat changes are prorated on your next billing date — see the worked example in the Billing FAQ.
Projects
Administrators can add themselves to any project the Organization owns. In the Project Dashboard, select the Organization in the sidebar and then the project. If you aren't on the project yet, its settings show only Team, where you can assign yourself as an admin. See Project Settings.
From there, you can add other users to the project as usual. See Team Management.
Deleting an Organization

Only the owner can delete the Organization. On its Profile tab, select Delete organization, type delete this account to confirm, and select Delete.
Deleting an Organization from its account settings permanently erases the account and all of its projects. This action cannot be undone.
To keep the Organization's projects, delete it from the Project Dashboard instead, which transfers its projects to your account.